
Airing down doesn't have to be a complicated science. While there are plenty of advanced techniques, most off-road adventures can be simplified into four fundamental steps. If you're new to the trails, follow this "Back to Basics" guide to get more traction and a smoother ride in minutes.
Step 1: Find Your Level
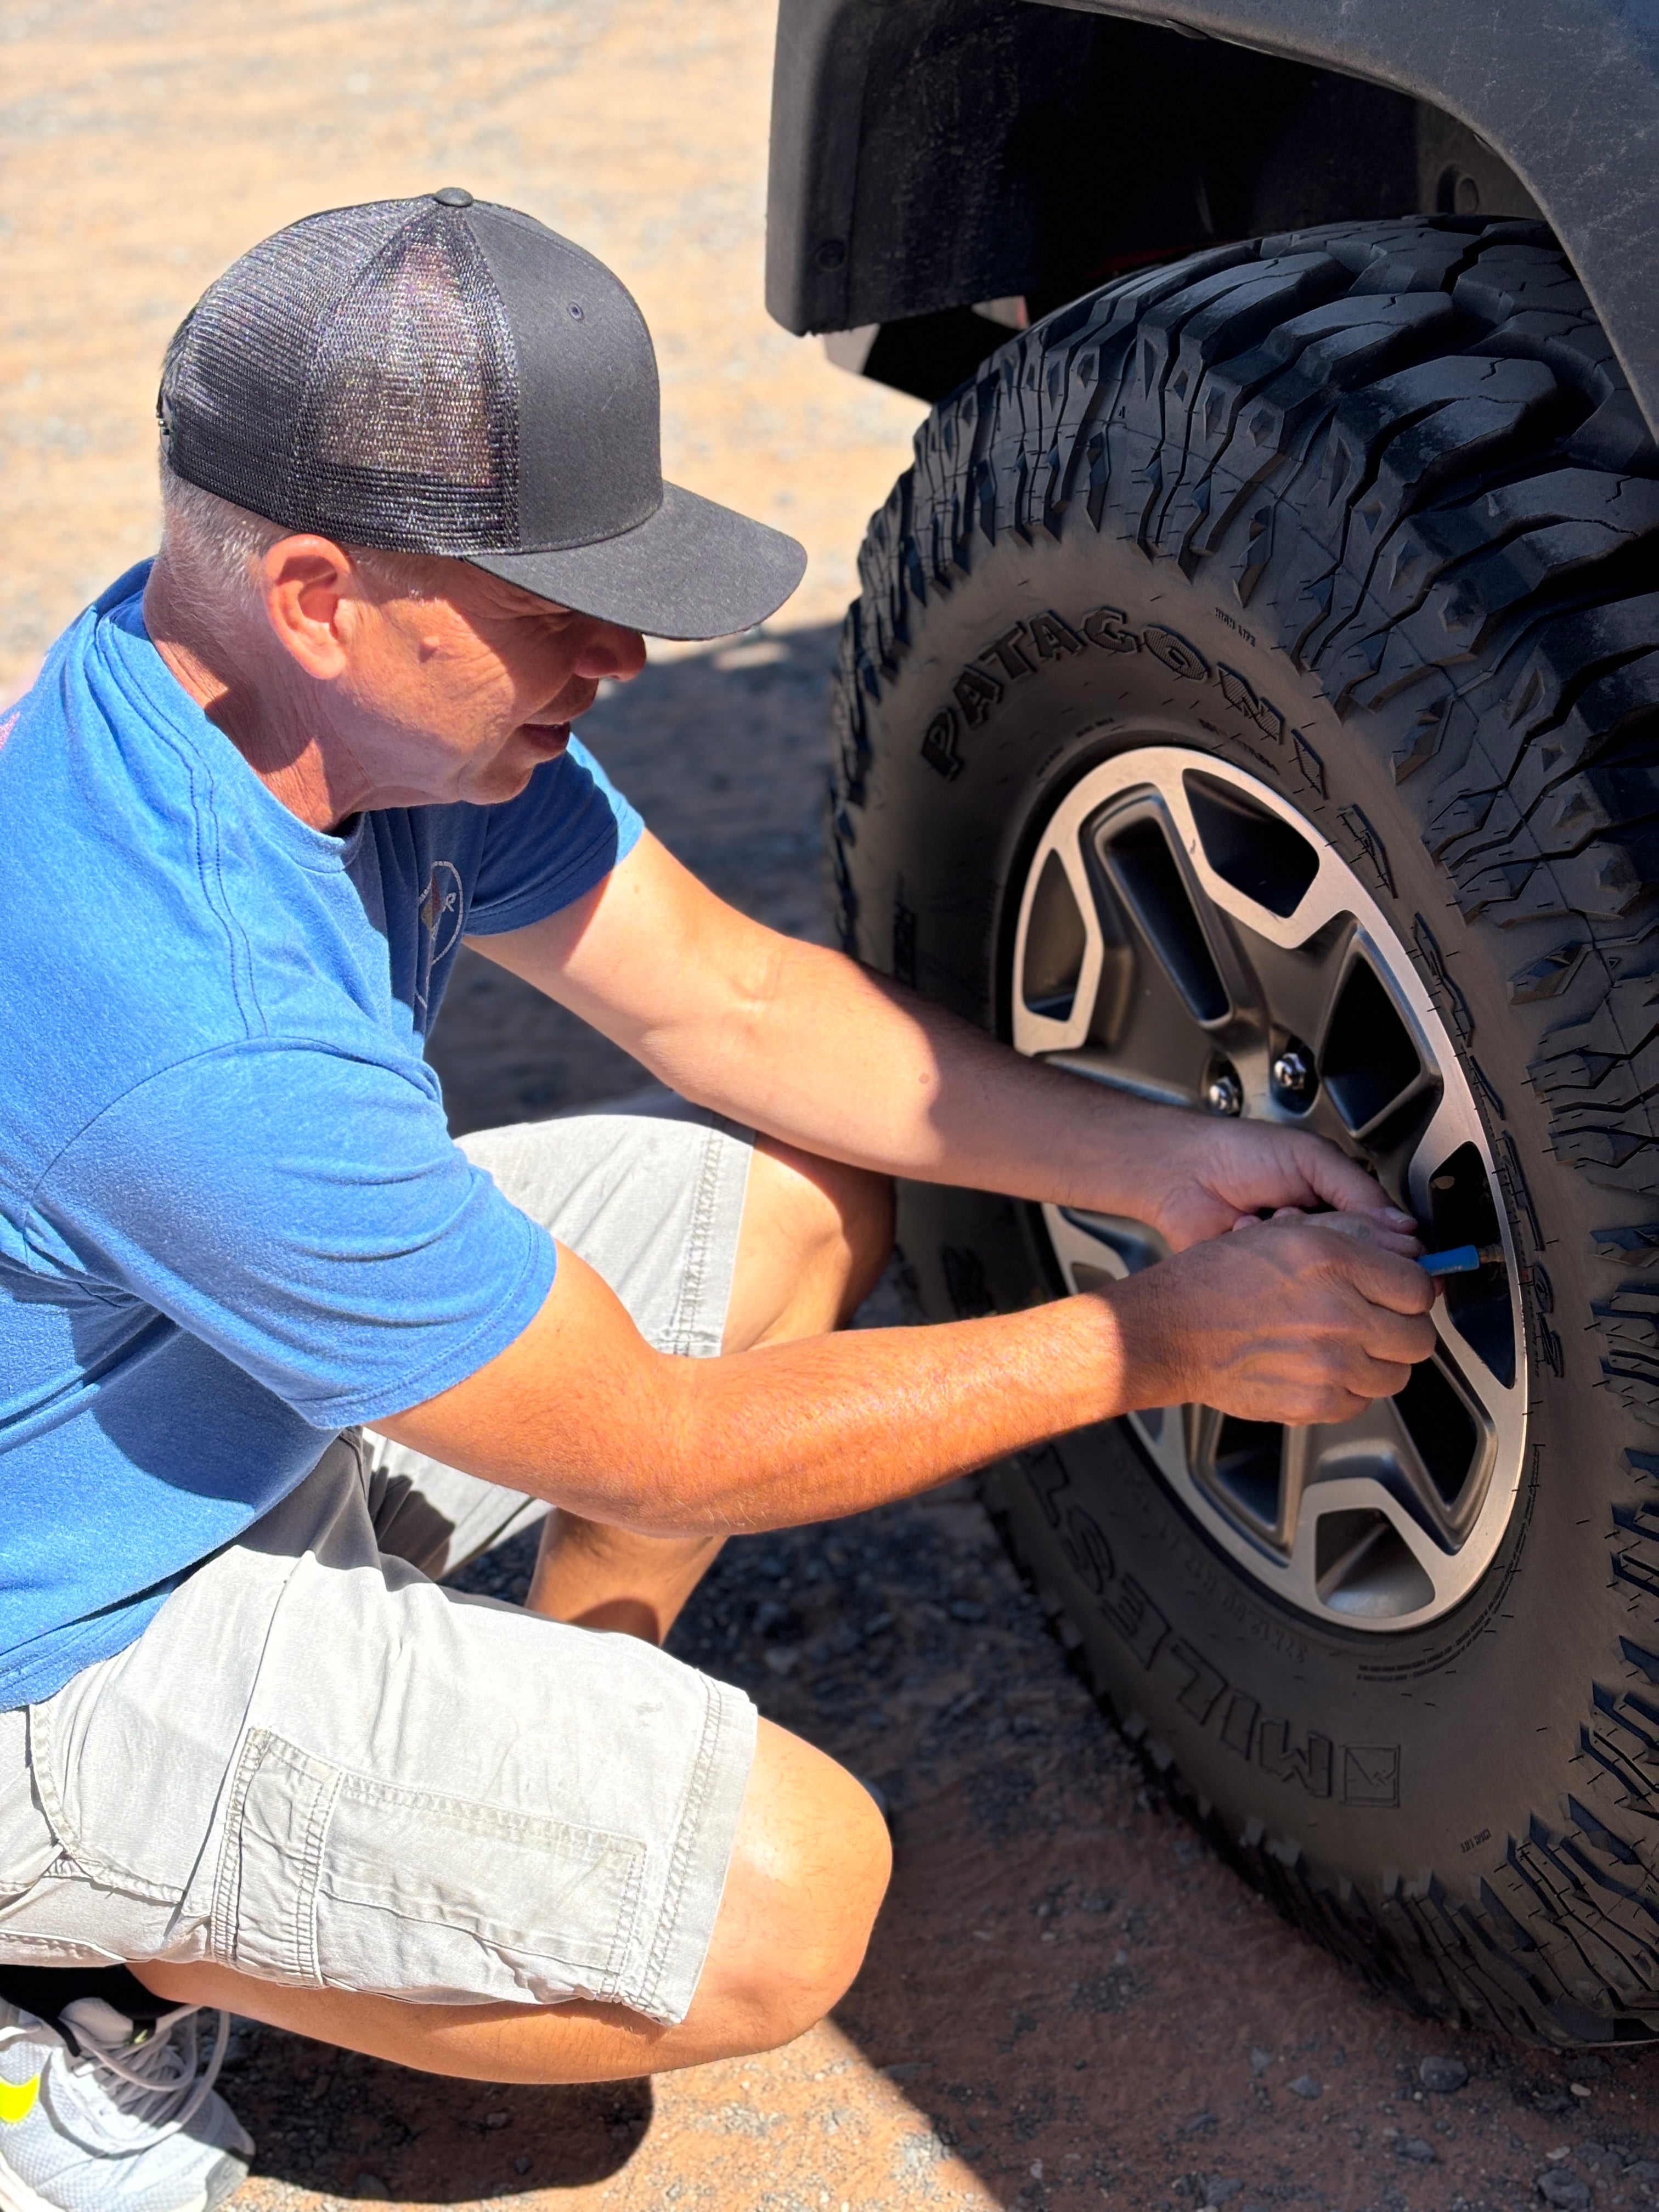
Before you reach for your deflator, find a flat, stable spot at the trailhead. Parking on level ground ensures your vehicle stays secure and predictable as the tire profile begins to flatten and widen. It also makes it much easier to move around your rig to reach all four corners safely.
Step 2: Clear the Path
Trail grit is the enemy of a good seal. Before you attach your deflator, take five seconds per tire to check the valve stem. Give it a quick puff of air or a wipe with a clean cloth to remove dust and mud. This prevents tiny particles from getting trapped in the valve core, which is the leading cause of those annoying slow leaks that show up halfway through your trip.
Step 3: Dial in Your PSI
Now, it’s time to drop the pressure. For most general off-roading, aim for the 15–20 PSI range.
-
The Goal: You want a larger "footprint" so your tires can wrap around rocks and float over soft dirt.
-
The Warning: If you don't have beadlocks, try not to go below 15 PSI. Staying in this "sweet spot" gives you maximum grip without risking the tire popping off the rim (debeading).
Step 4: Double-Check and Hit the Trail
Once you’ve hit your target pressure, do a quick lap around the vehicle to ensure all four tires are balanced. Toss your valve caps back on—they are your last line of defense against trail debris—and hit the trail.
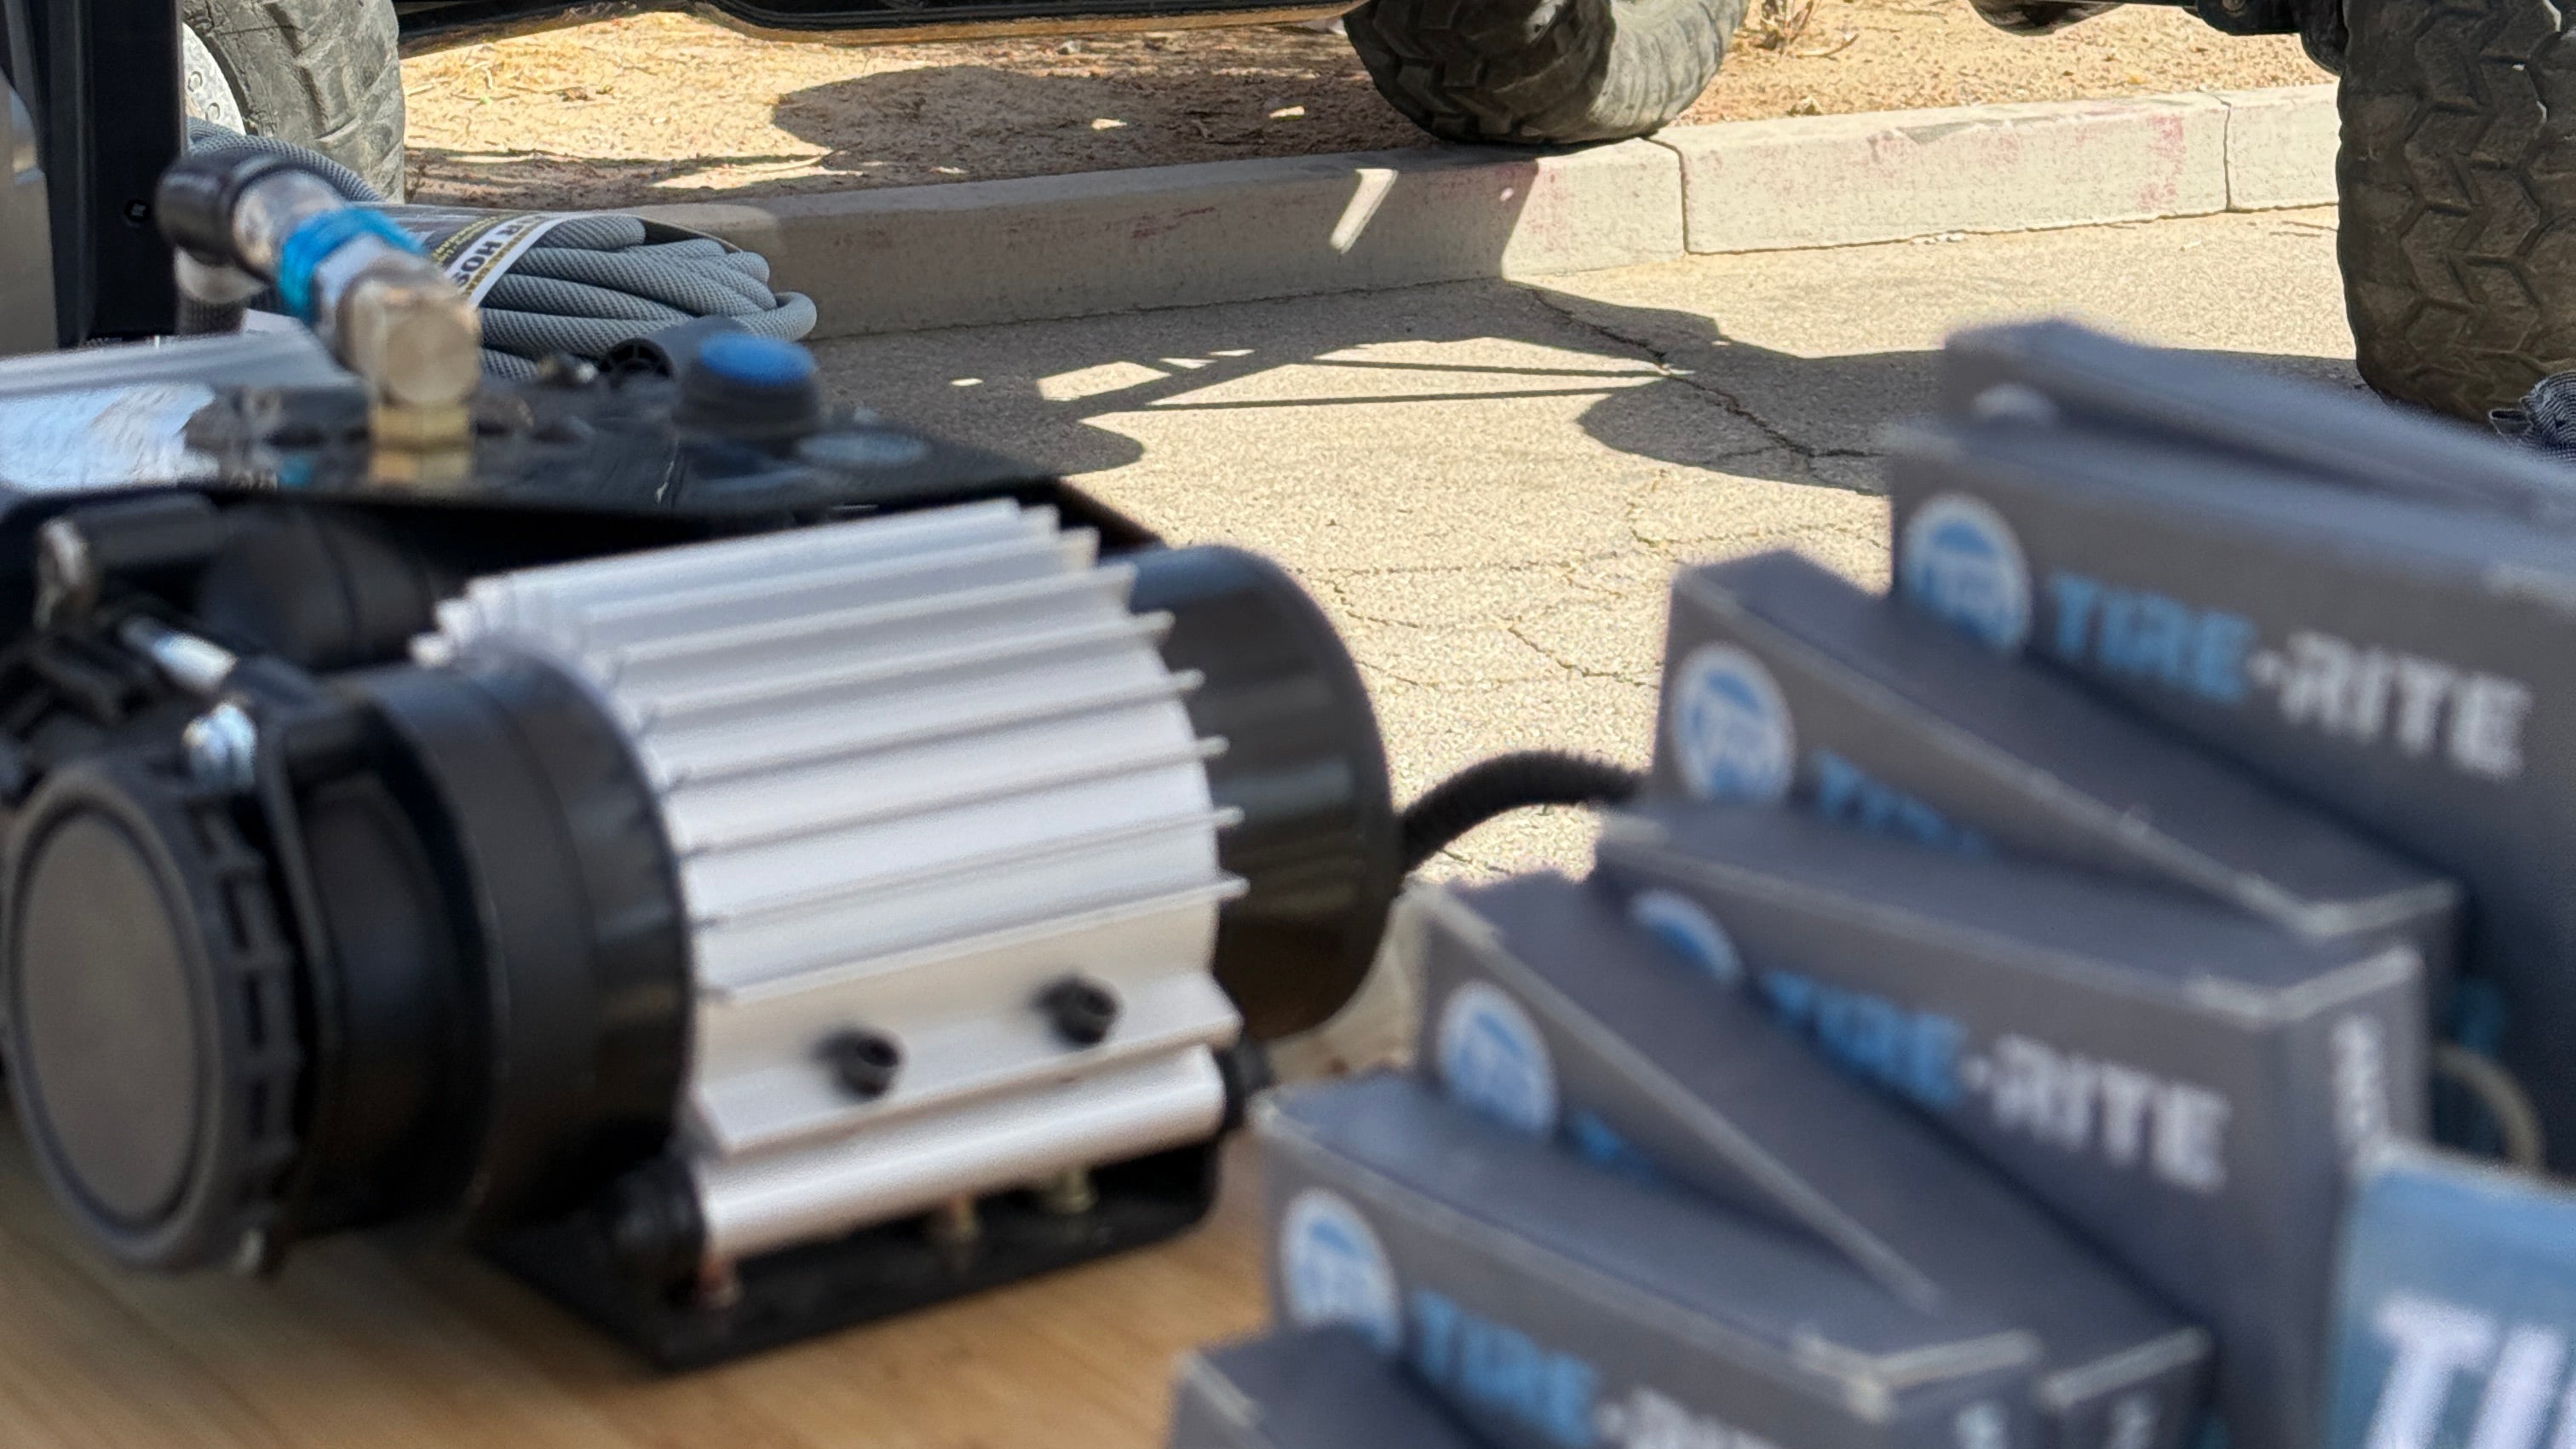
Pro Tip: Using a high-quality tool like the Tire-Rite Quickie Gauge or Deflate-Rite set makes this process even faster, so you can spend less time at the trailhead and more time on the trail.
Do you have a trailhead ritual we missed? Share your tips in the comments below!
Share:
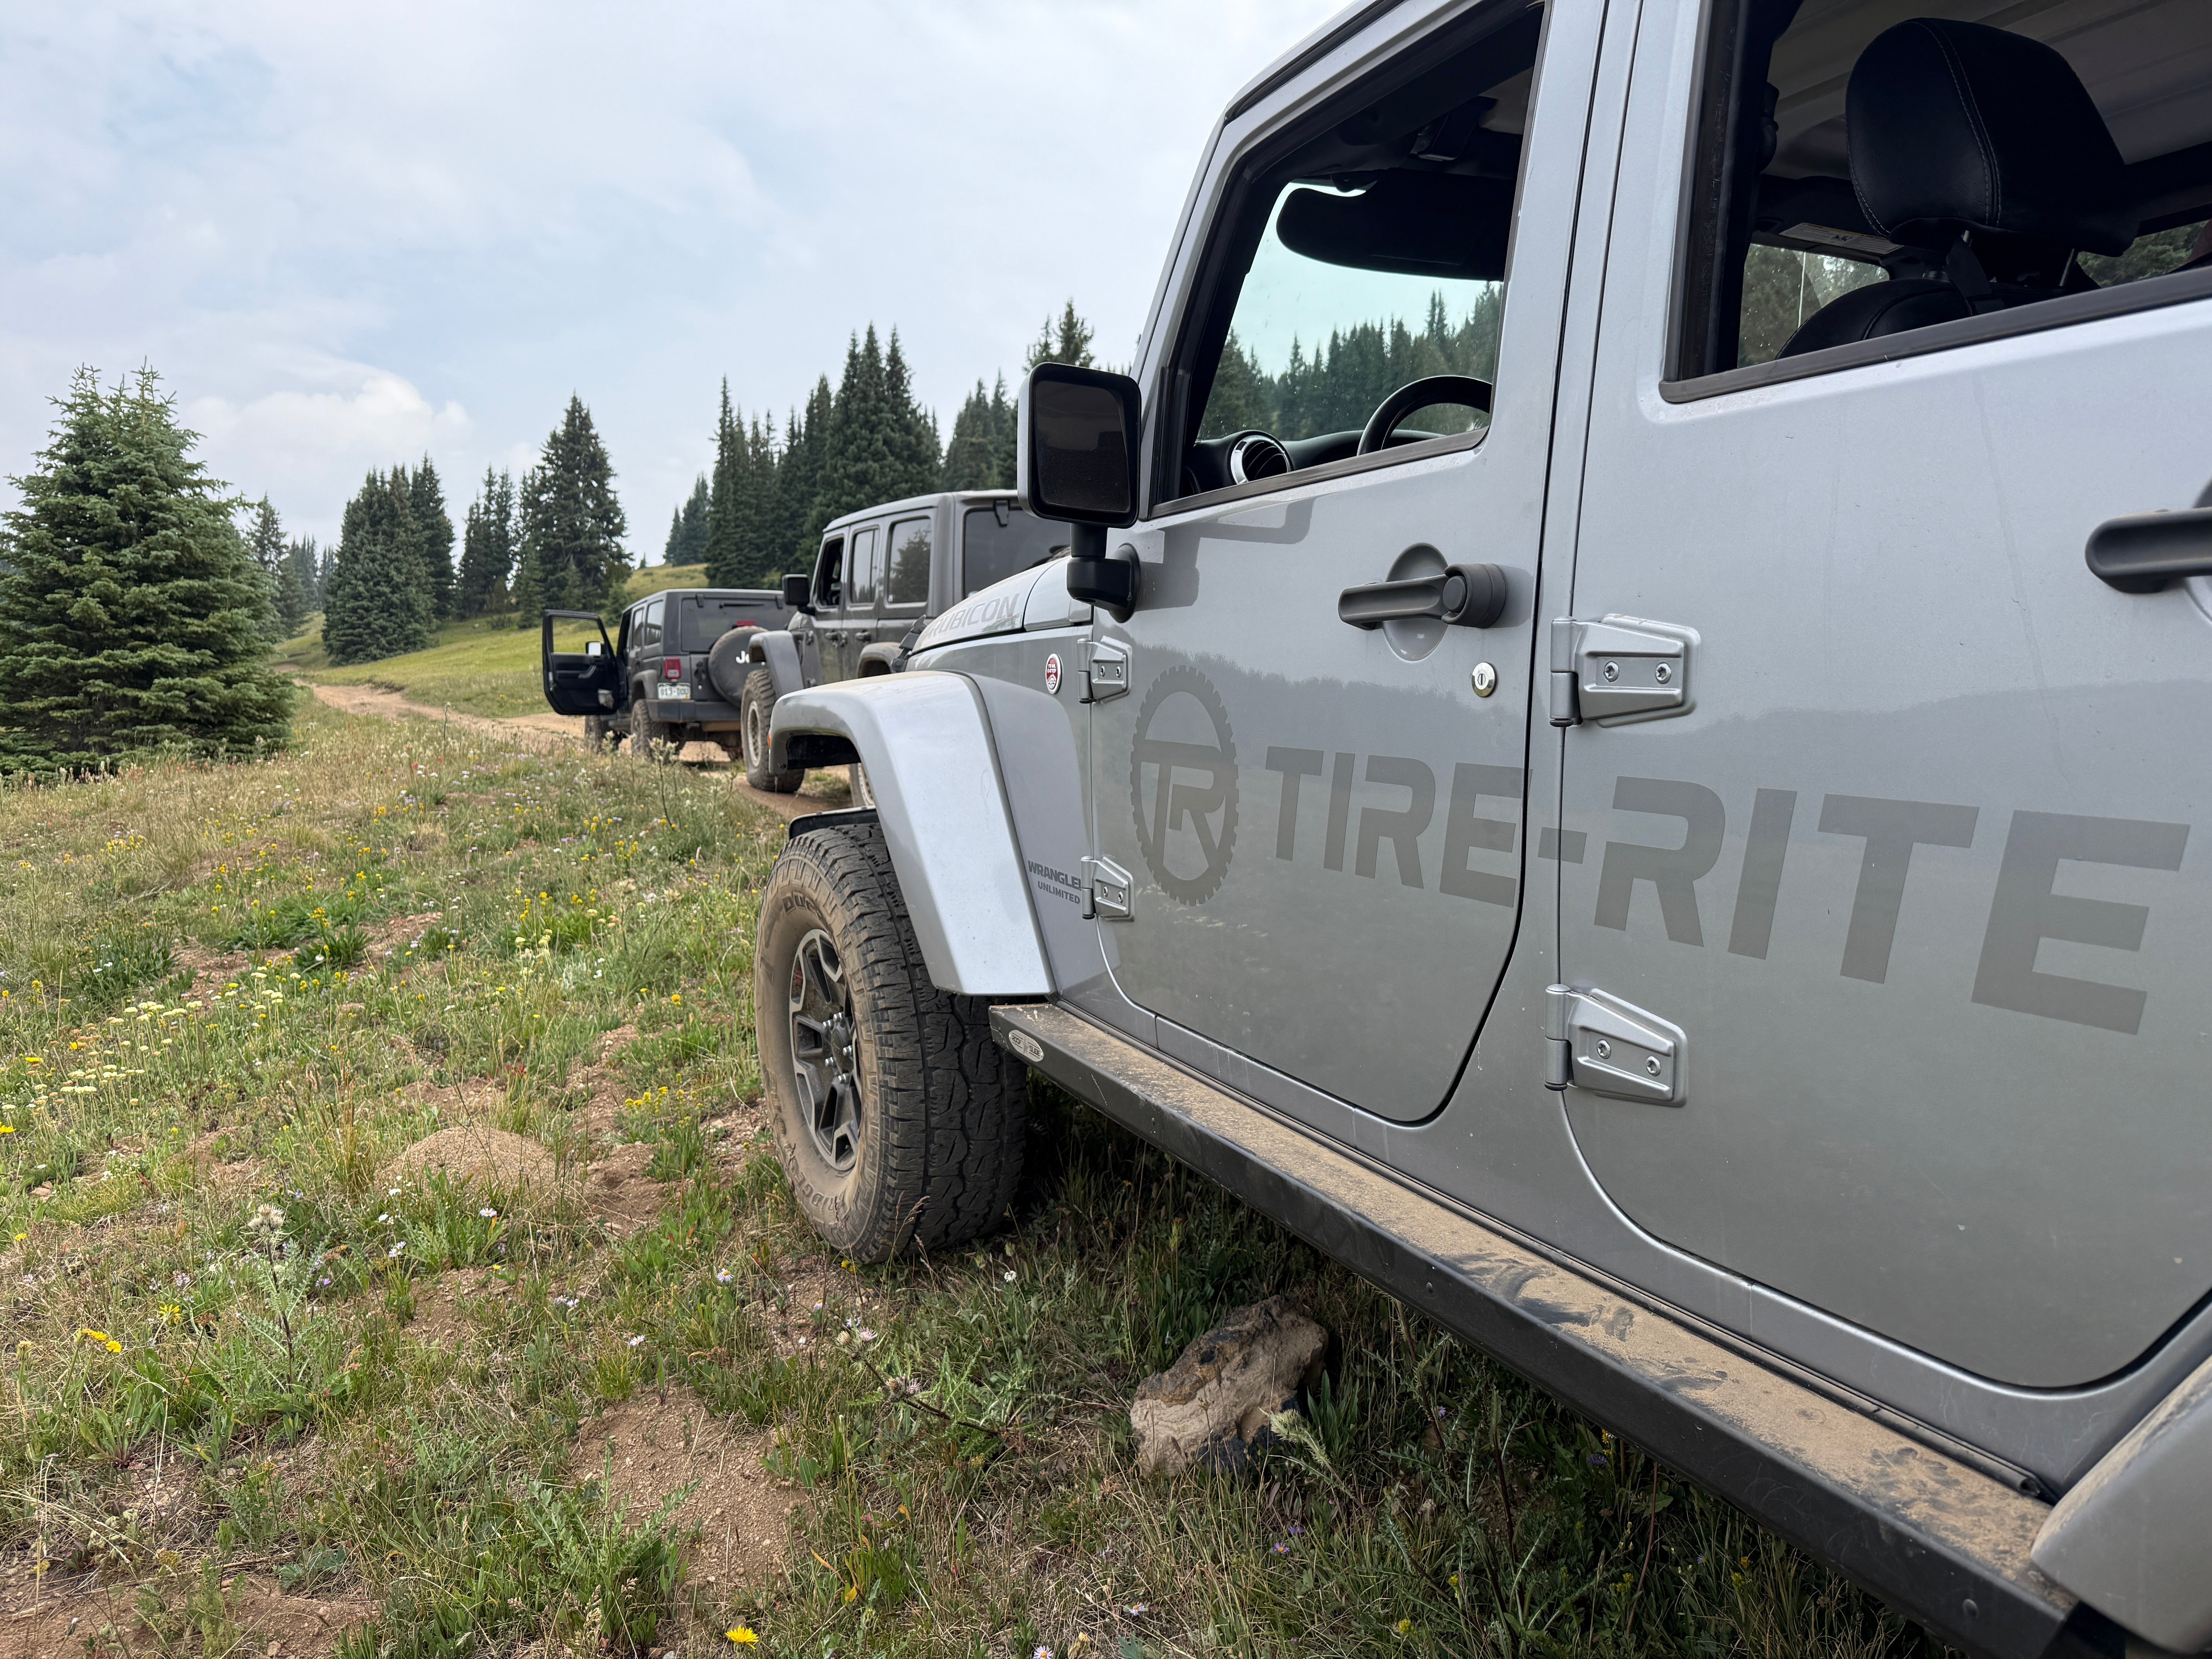
Tire-Rite: Gear Up for the Adventure